Creating a file-backed Volume using Windows Storage Spaces
This is a quick tutorial on how to glue your different cloud storage accounts together for convenience and performance. The idea is to stripe data across several providers using Storage Spaces for increased speed and reliability.
|
Warning
|
The badwidth overhead will be huge. Make sure your Internet access is not metered, and fast enough. An upload speed of 10Mb/s is an absolute minimum, and 100Mb/s is recommended. |
Virtual Hard Drives
The first step in the process is to create a lage number of small VHD files that will be used to store the data. Your cloud provider will see them as regular files, but your OS will see them as little hard drives.
Choosing an appropriate size for your VHD files is important: you want something large enough to fit your data on a few hundreds of them, but small enough to be uploaded in a reasonable amount of time. I picked 10Gb, which will let me store about 2Tb at the recommended limit of 240 drives.
Creating the files
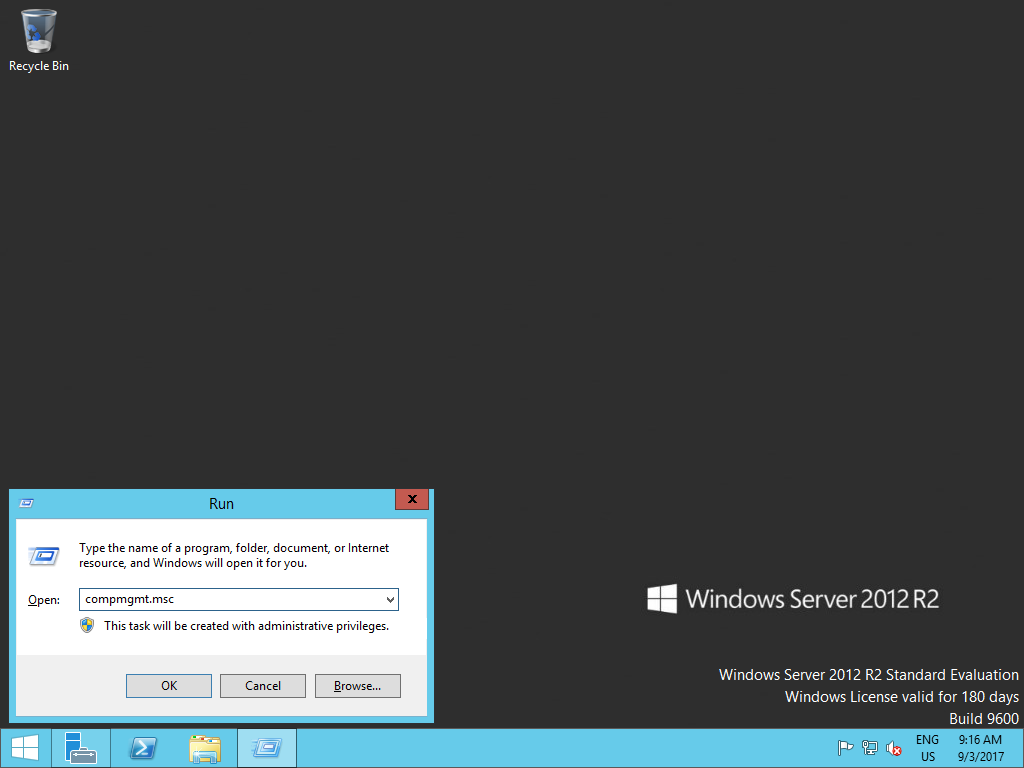
Open Computer Management by typing ⊞ + R and typing compmgmt.msc:
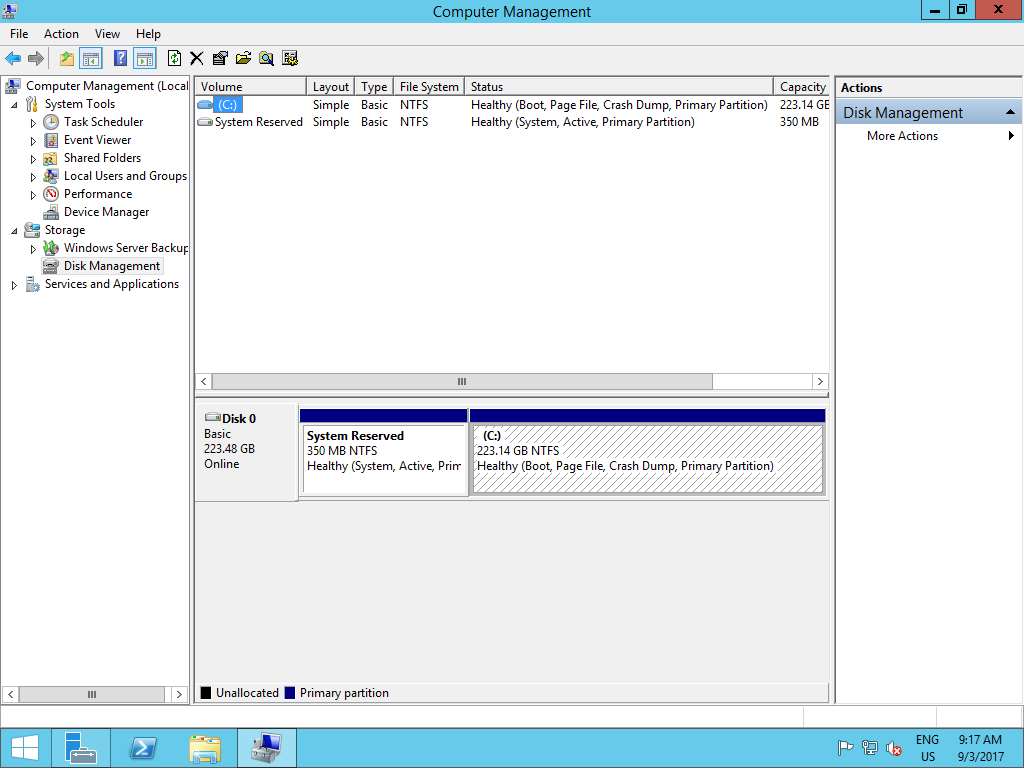
Select the Disk Management tab, then open the Actions menu and click Create a Virtual Hard Disk :
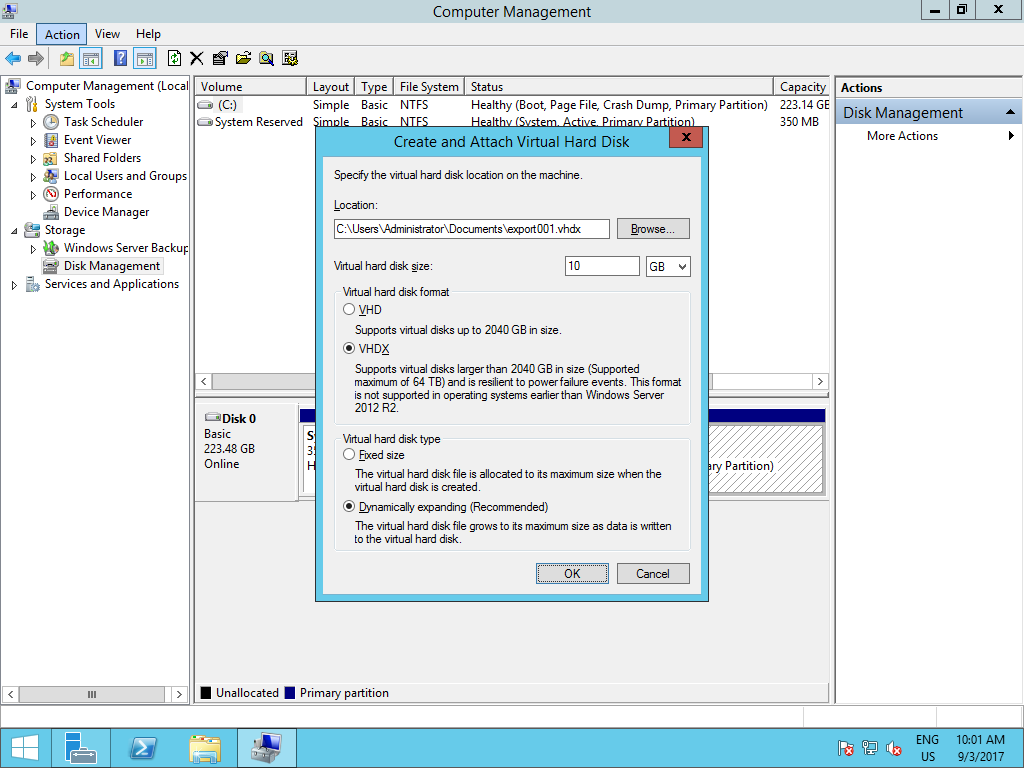
Select an appropriate location (e.g. in your GDrive, OneDrive or Dropbox folder), enter the size of your disk and click OK. Repeat this until you have enough virtual disks.
|
Note
|
If you have a lot of VHDs to create, you can also do it using the command line. Here is a little script I wrote to create my files. |
Then place your newly created files where they need to be (e.g. in your GDrive, OneDrive and Dropbox folders).
Creating the Volume
Now we are going to create the Virtual Disk that will be used to spread the data over the various cloud providers.
Open Storage Spaces and create a new storage pool:
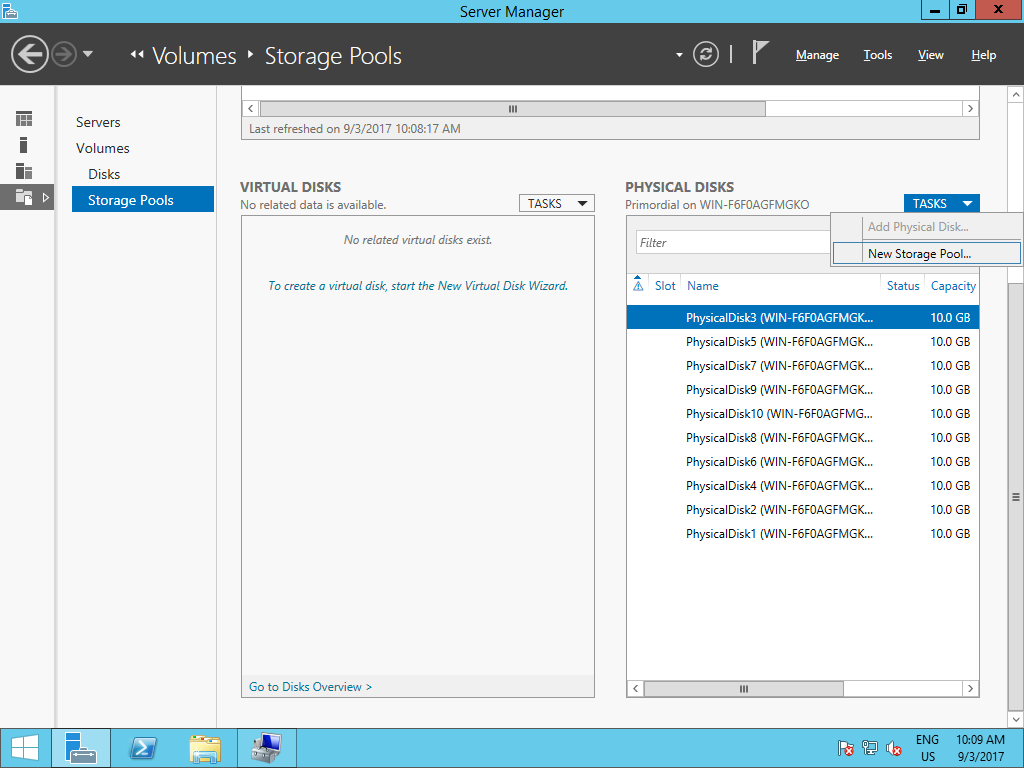
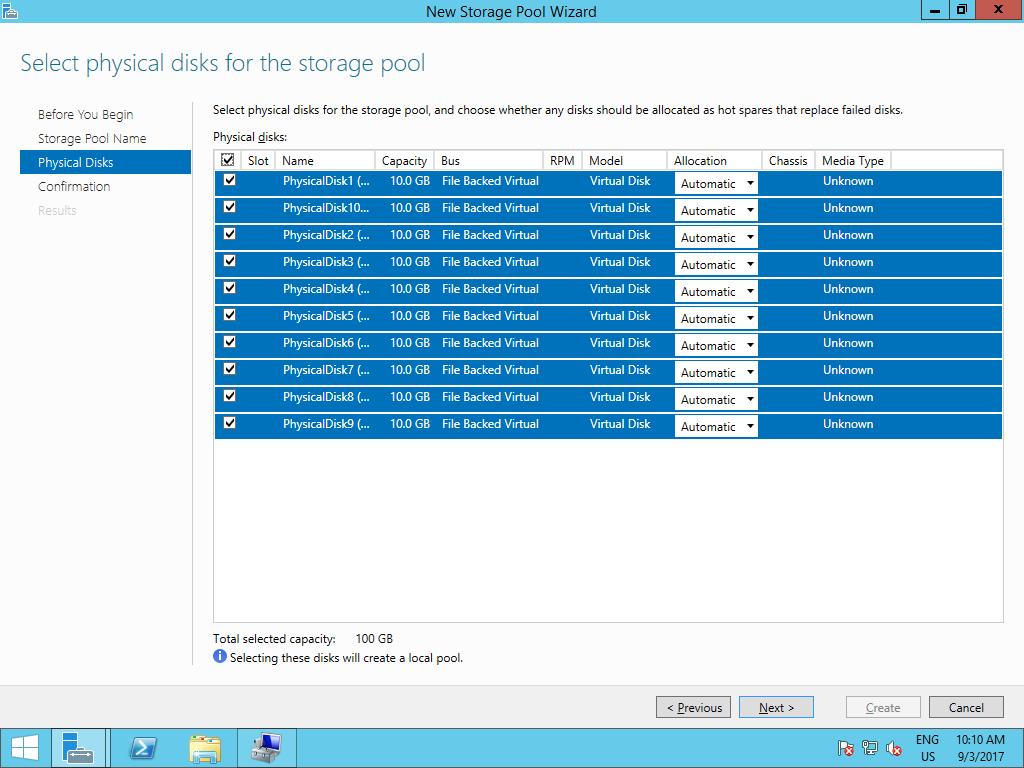
Now select all your virtual disks and click through the rest of the wizard:
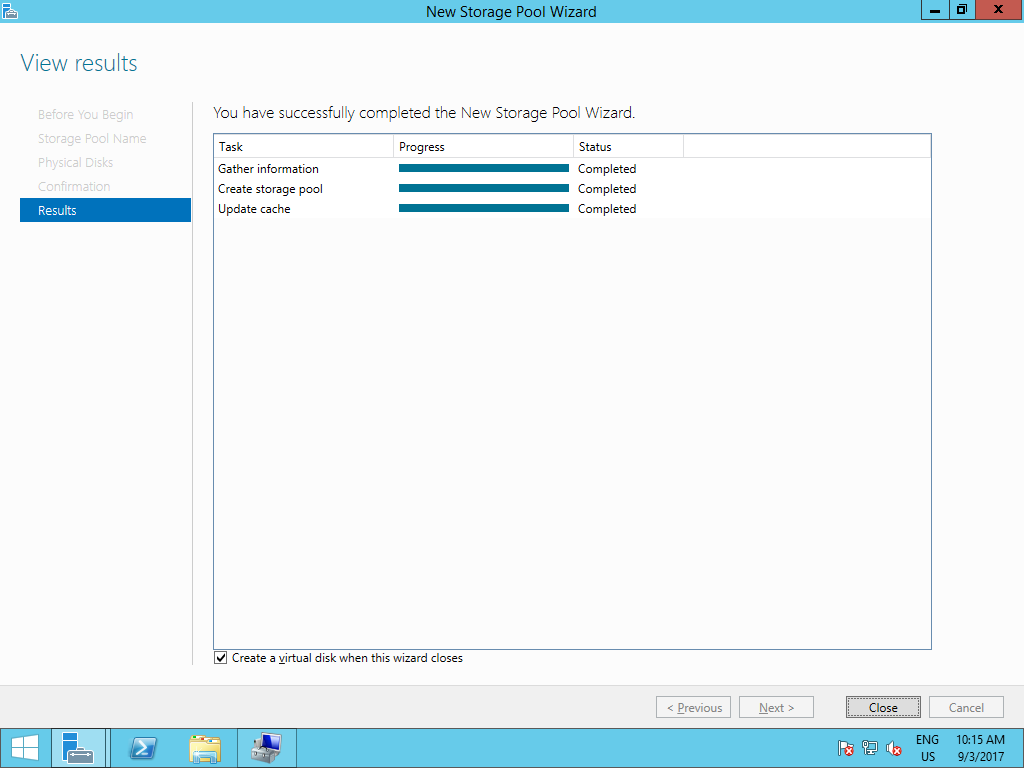
Check "Create a virtual disk when this wizard closes" and click Close:
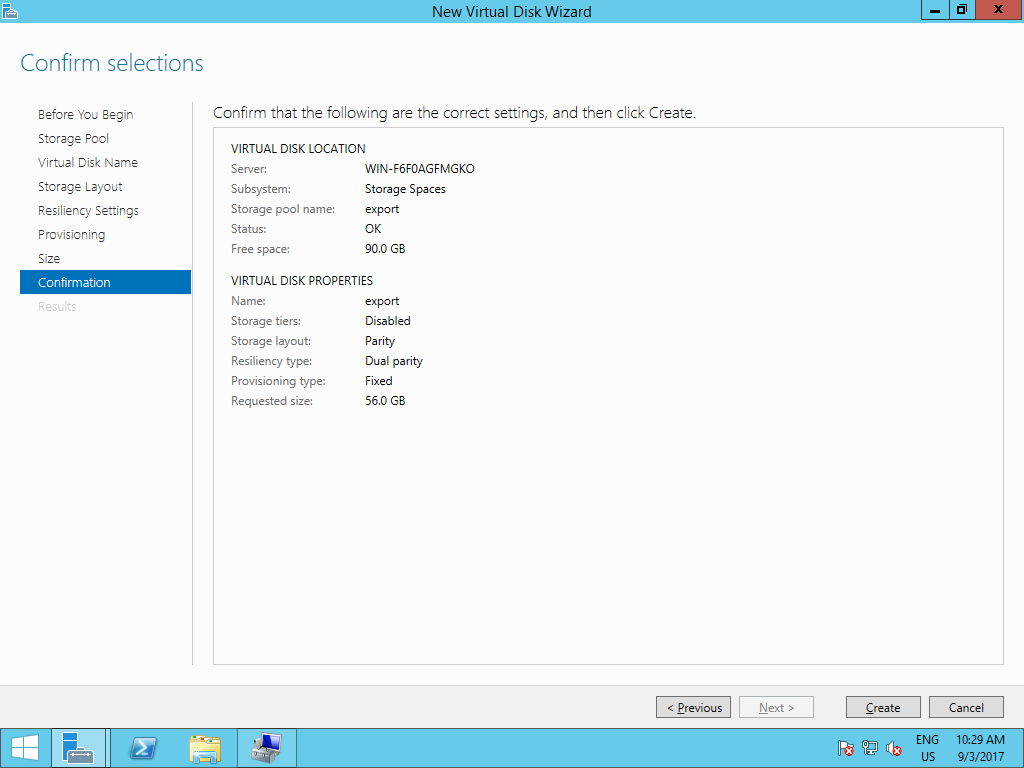
On the Storage Layout tab, select Parity. Then select Dual Parity on the Resiliency tab:
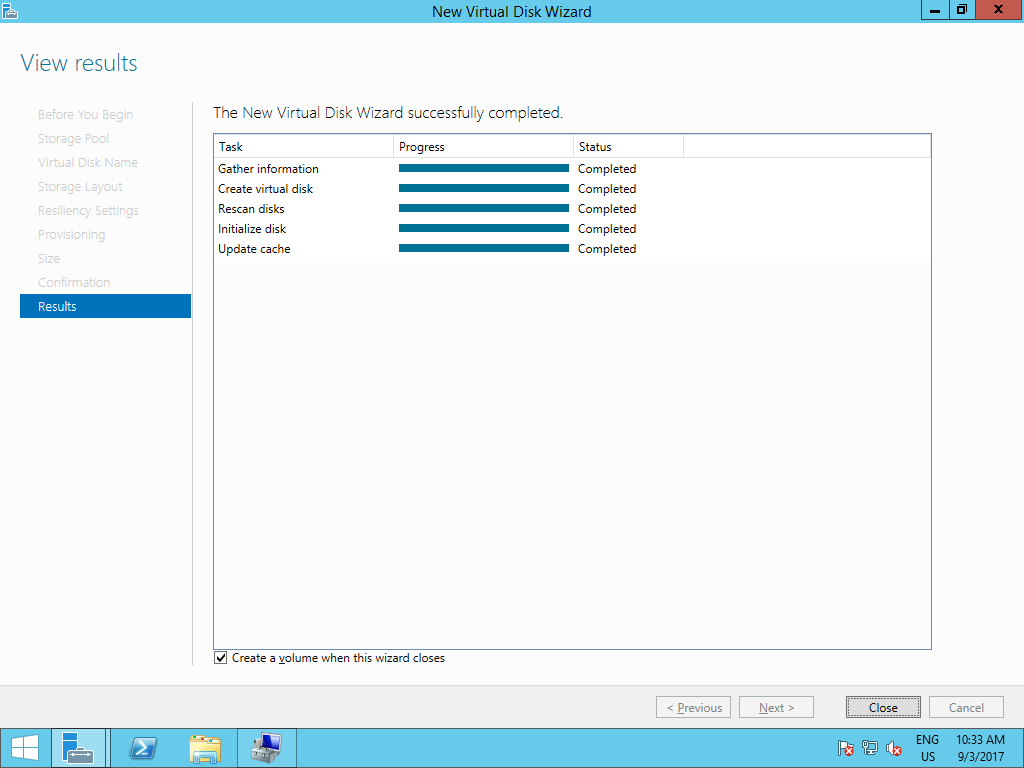
Finally check "Create volume when this wizard closes" and (you guessed it) click Close:
Congratulations! You now have a volume backed by VHDs that will get saved to your various cloud accounts. Copy your files into it and you’ll make it almost impossible to lose them.